After thirty years of homemaking (a few years ago), I finally hit upon the best, easiest, cleanest, least-time-consuming (in actual work time) way to make bacon: bake it!
According to experts (!), baking bacon is best way to prepare it because the bacon turns out golden brown and crispy; you don’t have as much mess (including the splatter mess from frying or microwaving); the oven cooks it slowly and at a lower temp (to start with), which keeps it from scorching; and, as I mentioned previously, it is easy! (Plus you have amazing, unburned bacon grease to cook with afterward! See Homemade Hannah note below!)

Because that is not quite fully cooked it can be frozen and then reheated a few slices at a time in the microwave oven. It makes it as good as new!
Before you start, go turn off your oven if you have already turned it on—or just don’t turn it on at all—to start with. You will start cooking your bacon in a cold oven.
When I prepare bacon in the oven, I do it in increments of three packages (three, six, or nine), depending on what other meats I bought that week (i.e. budget) and upon whether I am baking any up for the freezer at that time or not. (See freezing info below!) I have a convection oven with three racks—so I do many things in sets of three (love it!).
Below are links to products I use and love. I am an affiliate for Amazon.com. If you click on the links below I will earn a small commission. Thank you for your support of this blog!
Here are the steps for baking bacon (for one, two, or three jelly roll pans!):
1. Line a jelly roll pan (huge cookie sheets with deep sides) with foil or parchment. I use parchment for nearly everything, but for this I prefer foil because I can tear it off much bigger than my pan and form it down into the pan with some edges of foil left over to lift up when I am finished. (It makes the pan less messy.)
2. Arrange the slices of bacon on the foil and place the baking sheet on the center rack of a cold oven (or on all three racks in my case; or two middle racks if you are doing two pans at one time). Hopefully your pan is large enough that you do not have to squeeze the bacon together too closely; likewise, do not spread it out too much. Just lay the pieces side by side carefully without squishing or stretching.

The golden bacon grease after baking three pounds of bacon.
3. Close the oven door. Turn the oven on to 400°F. Set your timer for 30 to 40 minutes in an convection oven, moving pans every ten to fifteen minutes. Regular oven–35 to 50 minutes, moving pans every ten to fifteen minutes. These times are for three to four pounds of thick bacon at a time.
4. Come back 30 to 40 minutes later. If your bacon is done, remove it. If it is not and you have more than one pan, change places with the pans and set your timer for three more minutes. Check in two or three minute intervals.
5. Remove the pan from the oven. Remove the bacon from the pan and place on paper towels to drain.

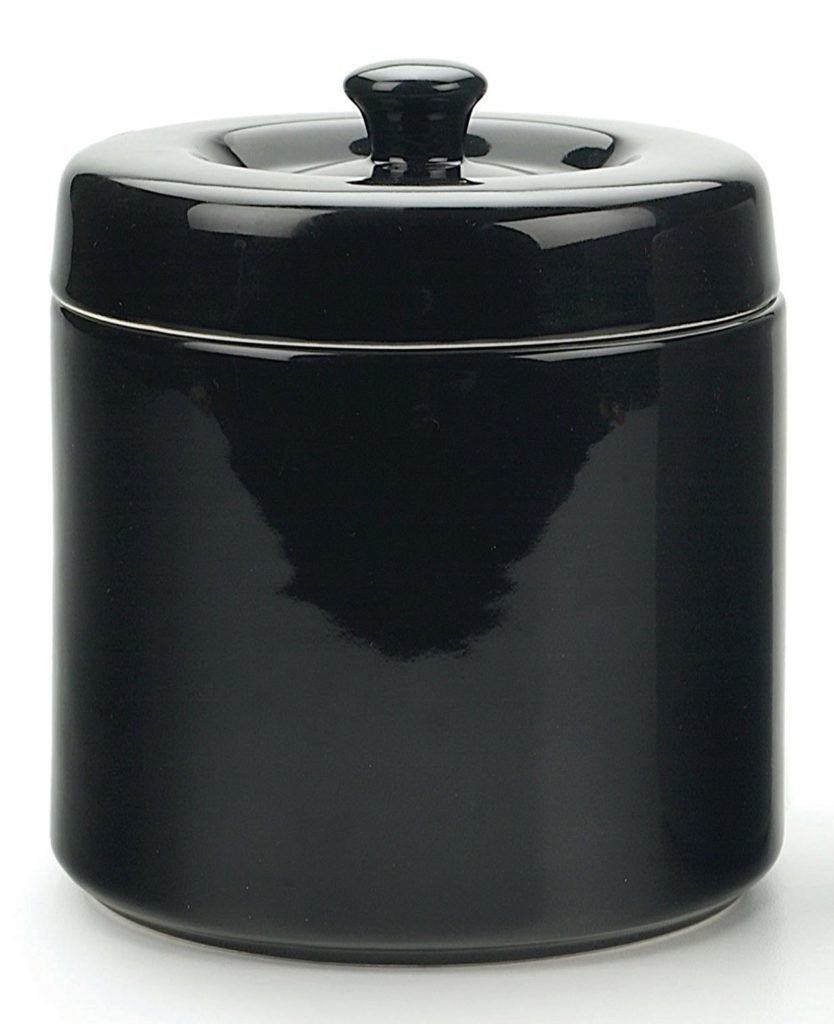
Love my stoneware bacon grease keeper! I just keep mine in the pantry since it has a mesh insert that strains out the bacon particles. So, so I am only storing pure grease. Some people still keep their strained bacon grease in the refrigerator. Either way is fine.
6. Carefully tilt your baking pans to pour the grease into a glass or stoneware container. (Be extra careful!) . (See Homemade Hannah note below about keeping the bacon grease in a glass jar, stoneware container, or bacon grease keeper like this one.)

The stoneware bacon grease keeper that I have has a metal insert that fits into the top and allows you to strain your bacon grease right into the stoneware container. Then I just empty particles from the can strainer part, rinse the strainer, and replace it so that it is stored right in my stoneware crock. Then the stoneware lid fits over all of it.
7. Once foil is cool enough, lift it up from the corners and discard it. Your pan shouldn’t be very messy! And your bacon should be perfect! 🙂
8. To freeze bacon, place a dozen or more pieces on a double sheet thickness and wideness of paper towel. Fold it over and slide down into one quart zipper bag. To use; just defrost in fridge or micro (not in bag in micro). Yum!
 In my convection oven with three racks, three pounds of bacon can be fully cooked drained and ready to eat in under thirty minutes.
Note: You can undercook your bacon by a couple of minutes and freeze in the manner suggested above. Then take it out and finish cooking a few slices at a time in the microwave. We like to undercook ours just a bit for reheating purposes. When we reheat a few pieces in the micro, it is like freshly-fried bacon. Perfect!
Recipe Keys
Low Carb (LC): Most bacon is carb-free and delicious! Need I say more? Okay, I will. Bacon is great on a low carb eating plan besides the normal Not-So-Oopsie Roll sandwich or bacon and eggs. Bacon simply belongs in green beans. There are some terrific recipes out there for chicken-bacon chowder soup that are fairly low carb. We keep bacon in the fridge all the time for salad toppings. AND I love to coat homemade cheeseballs with crumbled bacon.
Family-Friendly Low Carb (FFLC): There are so many ways to incorporate bacon in a family-friendly low carb household! You can use low carb bread, pitas, or tortilla shells to wrap it in. Of course, the old stand-by, BLT can be made FFLC with one of those low carb “bread” options. Turkey-bacon club sandwiches are great for FFLC. Bacon and eggs. Bacon-egg-and-cheese biscuit on a low carb bread, biscuit, or wrap. (Not-So-Oopsie Roll recipe COMING SOON…the BEST low carb breakfast sandwich!)
Store-Bought-Stella (SBS): It doesn’t get much easier or faster than baking bacon! All of the mess and “so much work for so little end product” are gone with this approach. SBS’s should love baking bacon! To make the bacon go further and use some store-bought ingredients to make meal prep easier, consider the turkey-bacon club sandwich—store bought cold cuts, lettuce, bacon….you get the idea!
Homemade Hannah (HH): This should be right up the alley for HH who likes to cook from scratch—because it is time saving and homemade! HH’s—do not overlook the lovely, golden grease that you get when baking your bacon. Save it! Use it for everything—cooking eggs, stir frying veggies, drizzled over broccoli and other veggies before roasting. You get the idea. It is an amazing fat to cook with!
Freezer Cooking (FC): I have been freezing bacon for twenty-five years—even before I started baking bacon (though I admit that I dreaded “bacon cooking day” during those years!). I like to wrap the drained, cooled bacon loosely in thick paper toweling. It absorbs more of the grease before it freezes. I don’t recommend thawing in the bag in the microwave or cooking in the bag in the microwave. Tip: I try to be sure that all of my freezer cooking bags and pans have two important things written on them (besides any directions that the user might need). These include the DATE and the words RAW or FULLY COOKED or PARTIALLY COOKED. Not everybody will need to do this, but because our children alternated cooking nights for many years, I just felt more comfortable letting them all know the state that the meal was in (especially since we would freeze meatballs fully cooked sometimes and at other times raw, as well as many other meats). I do the same with my bacon bags.
Trim Healthy Mama-Friendly (THM) (www.trimhealthymama.com): This can definitely work in an S setting very well. You can use any of the ideas above in the low carb and the family-friendly low carb sections for THM S bacon ideas!
Sugar Free (SF): Be sure the bacon you use is not molasses or maple syrup infused!
Low Carb Mixes (LCM): While bacon is not specifically one of my “mixes,” I do consider it a staple just like one of my mixes and have it in a rotation of freezer items. (When you start filling your freezer with pre-made foods, you ALWAYS have meals to choose from. It’s a great feeling that you will love!)